Rehydrating Your Dehydrated Backcountry Sourdough Starter
How-to, and some tips for caring for your new starter
Ingredients
- 15g Lodestar Backcountry Provisions dehydrated sourdough starter
- Bread flour of choice (we recommend something that is higher in protein, which is common with many types of flour referred to as "bread flour")
- Filtered water (tap water is fine, but it should be filtered to remove chlorine and/or chloramine)
Supplies
- Kitchen scale that measures in grams (g) [There are alternatives to weighing your flour, water, and starter that you can find online]
- Clean mason jar or other container (we recommend a glass container with smooth sides and a sealable lid)
- Spatula for mixing and some cheesecloth for covering your starter (or you can just use the mason jar covers - this is what I generally do)
Quick Points
- Temperature matters, but you don't need to be precise. I keep my sourdough starter at about 22°-23°C (72°-74°F).
- If you live in a cold house (I do) and it's hard to keep the starter at a warm temperature, I'd recommend getting a basic bread proofing tent. You can find several options on Amazon that work well.
- If your starter is too cold, it simply won't be as active. It might take a longer time to ferment and rise, or it might not rise as much as it could or should in warmer temperatures.
- If your starter is too hot, it may rise very quickly and may become more acidic than you want. This can alter the taste of your bread and can make your starter unhealthy if the yeast and lactic acid bacteria become unbalanced.
Instructions
Day 1
- It's probably a good idea to start this process in the late afternoon or evening.
- Combine the entire packet (15g) of dehydrated sourdough starter with 30g of water and 15g of flour in your glass mason jar or other container. You now have 55g of starter.
- Cover the container with something breathable like cheesecloth. You can place an elastic band around the rim of the jar to keep it in place. Keeping it covered is a good idea to help keep out debris that might contaminate your starter.
Day 2 (morning)
- In the morning, feed your starter 40g of flour and 40g of water. Cover it again, and let it sit and do its thing.
Day 2 (evening)
You are now going to do a 1:1:1 ratio feeding of your sourdough starter.
- In the evening, weigh out 25g of your starter. Feed it equal parts of flour and water: 25g of flour and 25g of water.
- Cover it and let it sit overnight.
Days 3-6 (morning and evening)
- Every morning and every evening, repeat the 1:1:1 ratio of feeding your sourdough starter (25g starter + 25g flour + 25g water) and leave it to sit, covered.
- You should start to see a regular rise/fall of the starter in a few days.
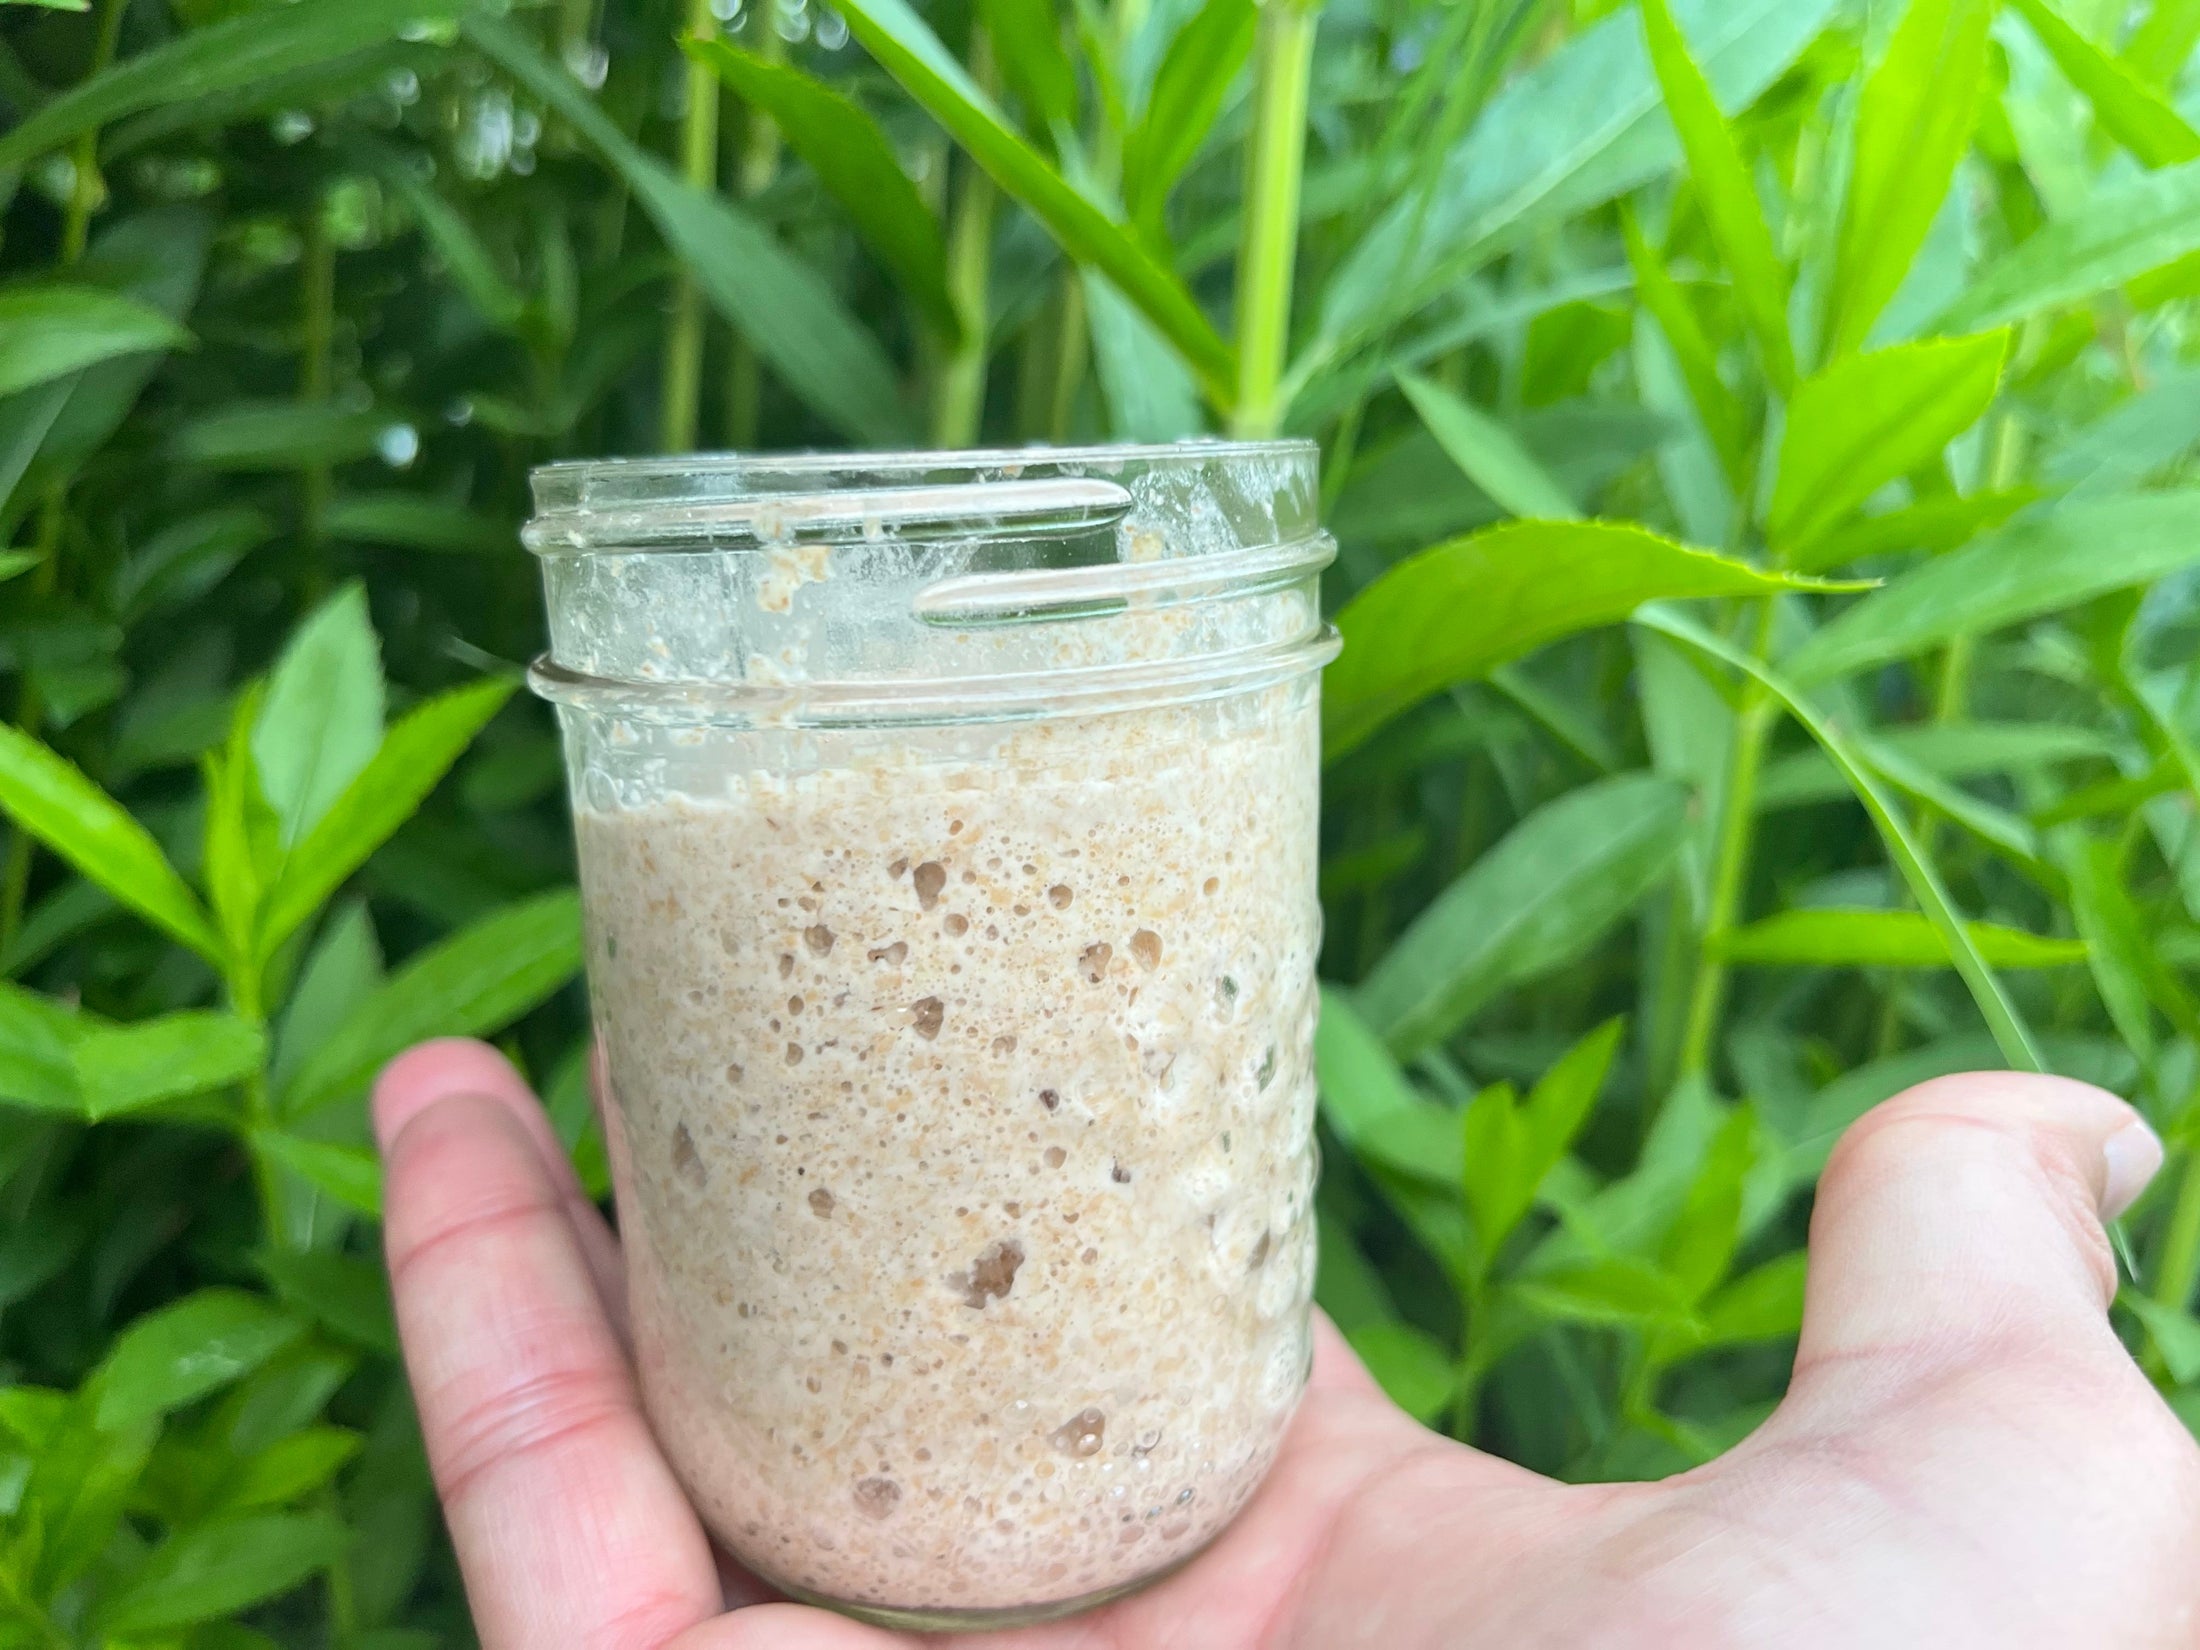
Signs of Success
- You should start to see your sourdough starter doubling in size in 6-8 hours after you've fed it. Try marking the level of the starter after each feeding so you know where you're starting from and can track when it's doubled in size. I use a piece of masking tape to mark the top of the starter when I've fed it, other people use an elastic band around the jar.
- You should see bubbling throughout the starter - big and small, including on the surface.
Safety notes
- There should not be any signs of contamination at all - if you see any changes of colours, spotting, or mold, you must discard the whole starter and begin again. There is no salvaging a contaminated starter and it's dangerous to do so.
- Your starter should smell sweet, "bready", or a little sour or tangy. There are lots of different descriptions of what a healthy sourdough starter should smell like. The major warning signs are a sulfur/rotten egg smell, moldy or musty smell, cheesy/funky smell. If any of these smells are present the starter is unsafe.
Maintaining Your Starter
- There are many different ways that you can feed your sourdough starter, depending on how often you plan to bake bread. You're only going to need 3 ingredients: your existing sourdough starter, some unchlorinated water (you can use water that's passed through a filter), and some flour.
- You can store your sourdough starter in the fridge if you only plan to bake with it occasionally - for example, you might bake bread on the weekends (like me!). Storing your starter in the fridge slows down the fermentation process meaning you can feed it less frequently (once a week is a good idea) than if it sits on the counter (which may require daily feedings).
- You should let your sourdough starter warm up for 3-4 hours before you feed it. Let the microbes warm up and get ready to work.
- I feed mine a 1:3:3 ratio - I feel that this gives me the best balance of making sure the starter has enough hydration and food from the flour, without diluting the essential microbes (the yeast and lactic acid bacteria). For a 1:3:3 ratio, you would place 10g of your existing starter into a new, clean container, and add 30g water and 30g of flour. You now have 70g of starter.
- Once you've fed your starter, it can go back into the fridge until you're ready to use it to bake with or until it's time to feed it again.